How to Make Your Own Recipe Book: Notebook, App or Printable
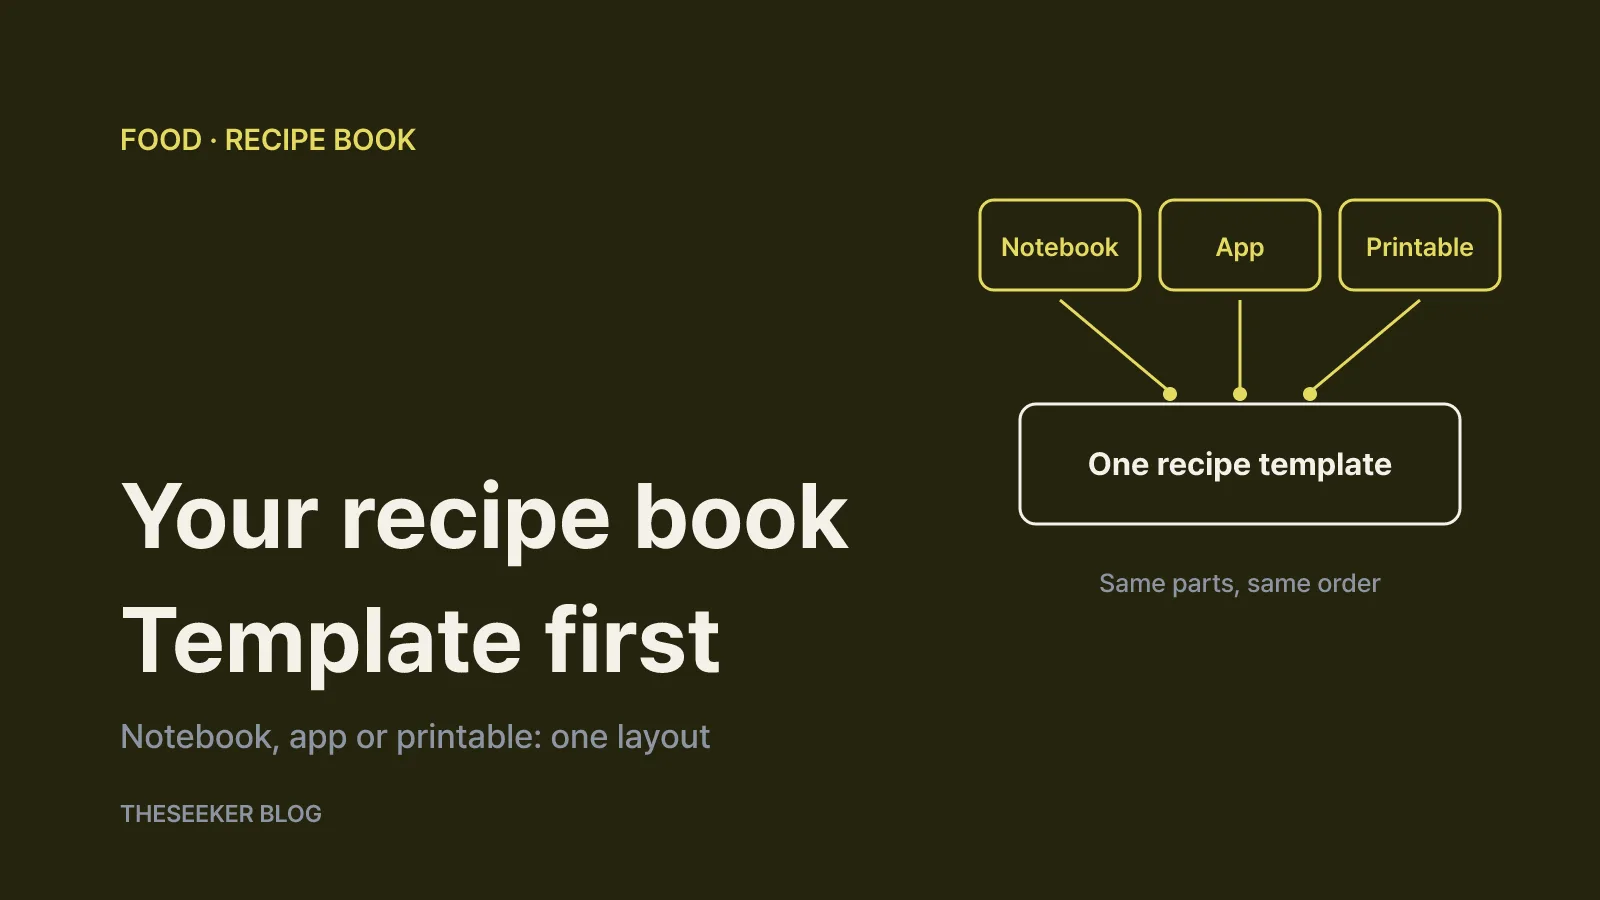
Settle on one seven-part recipe template first, then choose a recipe journal, an app or a printable binder. Here is how to write ingredients, measurements and steps so every recipe is easy to cook from again.
 Chloe Morgan
In this post
- Start with a recipe template that has seven parts
- Notebook, app or printable template: which fits you?
- Write ingredients exactly as you measure them
- Write directions and notes you can follow mid-cook
- Organize, index and share your recipe book
- A one-week plan to start your recipe book
- Sources
- Frequently asked questions
As of October 2026, the most reliable way to make your own recipe book is to choose a single recipe template before you choose the tool. Give every recipe the same seven parts: a title, the yield, prep and total time, equipment, ingredients listed in the order you use them, numbered directions and a notes section. Once that structure is fixed, it hardly matters whether you write in a recipe journal, type into an app or print pages for a binder. A notebook suits people who like writing by hand, an app suits anyone who wants search and tags, and a printable template suits cooks who want a page propped up on the counter. The guidance below draws on recipe-writing standards from US university Cooperative Extension services and measurement advice from the National Institute of Standards and Technology (NIST).
Start with a recipe template that has seven parts
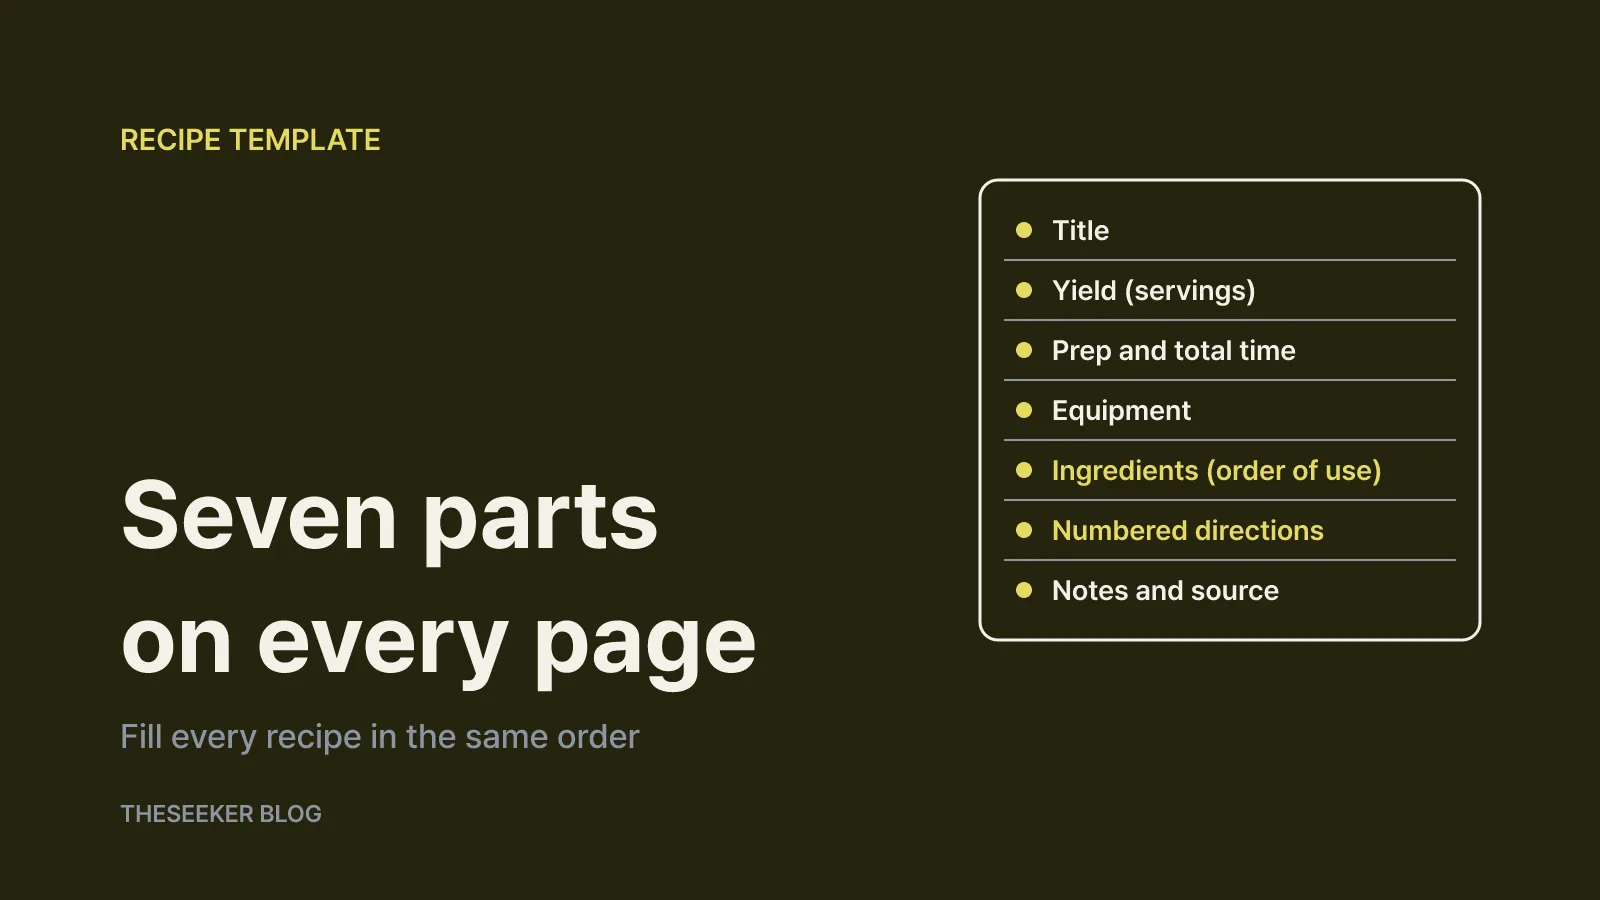
Most homemade recipe collections fall apart for one reason: every page is written differently. One card lists ingredients but no quantities, another says “soy sauce to taste,” and a few months later you cannot reproduce the dish. A template fixes that.
Nebraska Extension describes the Standard Form, which lists ingredients first and the method second, as the most common and easiest style to read (Nebraska Extension). The same page says a good recipe is accurate and complete, lists ingredients in the order used, uses short sentences, specifies pan sizes and gives the total yield and serving size.
Adapted for a home recipe book, each page should include:
- Title: name the main ingredient or method. “Garlic Butter Shrimp Pasta” is easier to find in an index than “Friday dinner.”
- Yield: the number of servings or the finished amount.
- Time: prep time and total time, listed separately.
- Equipment: pan size, pot type or anything else that changes the result.
- Ingredients: in order of use, with units.
- Directions: numbered, one task per step.
- Notes: the date you made it, what you changed, what to fix next time and where the recipe came from.
The notes section is what turns a stack of recipes into your own book. If a dish came out a little salty, write that down immediately and update the recipe before you cook it again. After a couple of rounds, the page reflects how your household actually likes it.
Notebook, app or printable template: which fits you?
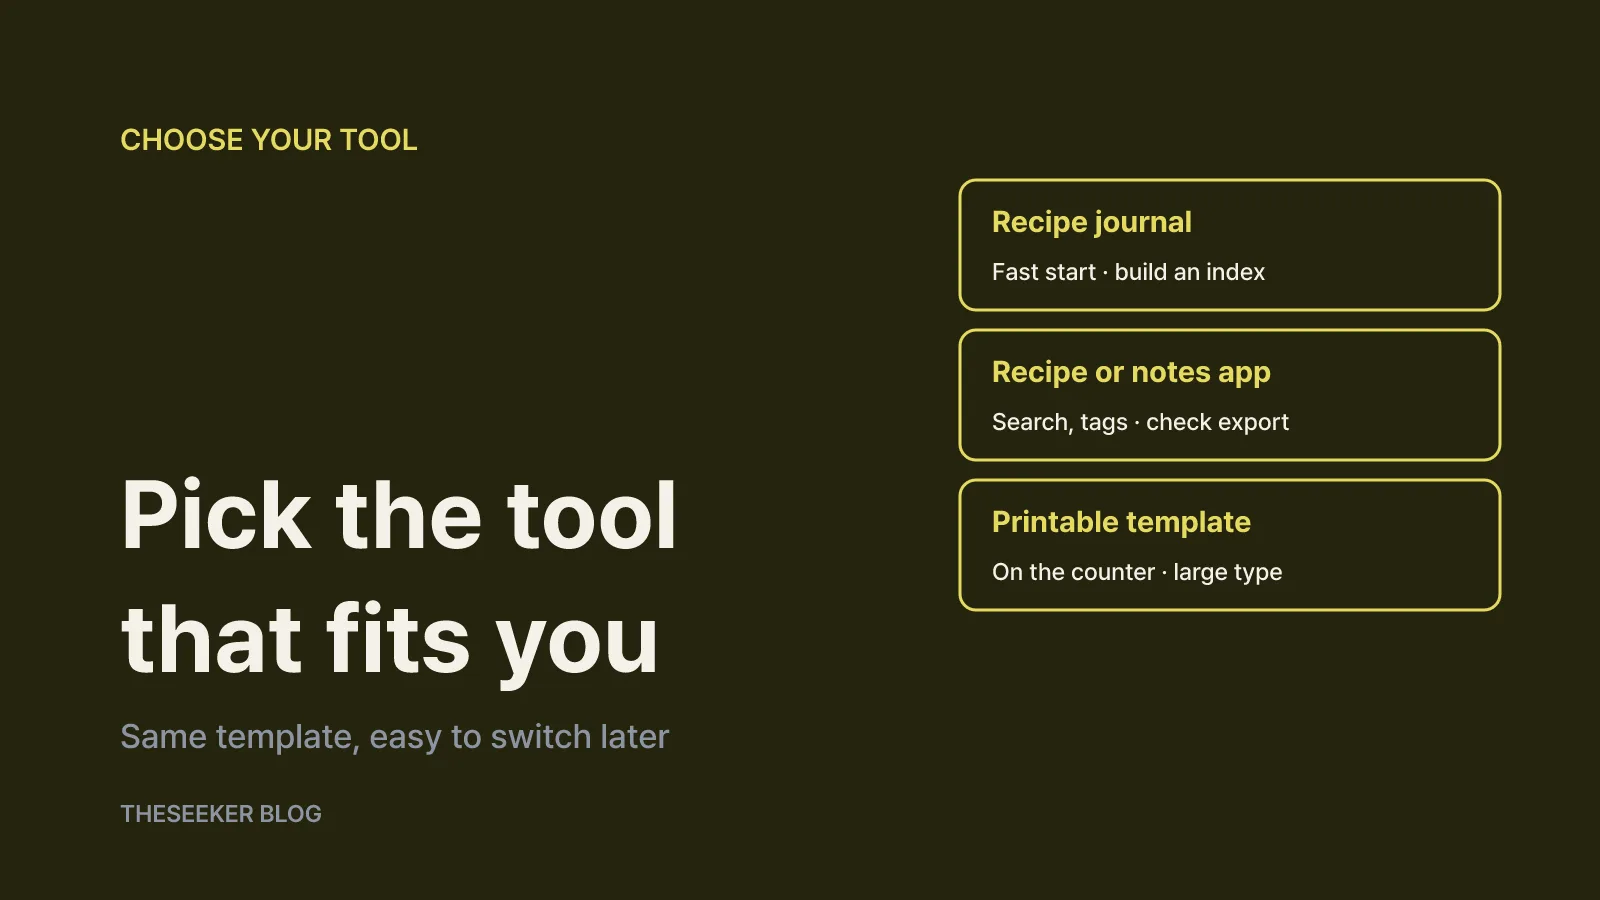
There is no single right tool. Because you are using the same template everywhere, you can switch later without rewriting your system.
A handwritten recipe journal is the fastest way to start. You need a notebook and a pen, and the splatters and margin sketches become part of the record. The weakness is finding things once the collection grows, so leave the first few pages blank for an index. Giving each recipe a two-page spread, with the right-hand page reserved for notes, leaves room for revisions. A ring binder lets you reorder pages by category.
A recipe app or general notes app wins on search and editing. You can search by ingredient, tag recipes as “weeknight,” “soup” or “lunchbox,” and attach photos. Features vary between apps, so check whether yours supports shopping lists, scaling servings and syncing across devices. Most importantly, check that it can export your recipes to a document or file. Years of recipes should not be locked inside a service you might leave. In a plain notes app, save the seven-part template as a note and duplicate it for each new recipe.
A printable recipe template sits between the two. Build a one-page template in a word processor, then fill it in by hand or type and print, and keep the pages in a binder. Printed pages are easy to prop up while cooking and easy to share. The University of Maine Cooperative Extension recipe style guide recommends a 14-point title, 12-point ingredient and instruction text, a sans serif font and no justified text (UMaine Extension). Treat those sizes as a minimum if you will be reading the page from arm’s length. Clear sheet protectors help pages survive splashes.
You can also combine tools. Capture new recipes quickly in an app, and move only the ones you have cooked several times and settled on into the printed binder.
Write ingredients exactly as you measure them
The ingredient list deserves the most care. Nebraska Extension points out that “1 cup chopped nuts” and “1 cup nuts, chopped” mean different things: the first is measured after chopping, the second is measured first and then chopped (Nebraska Extension). The UMaine guide likewise says to write ingredients as they are measured, include every ingredient used and mark optional ones with “(optional)” (UMaine Extension).
Pick one measurement system and stick with it. According to NIST’s equivalency table, 1 teaspoon is about 5 mL, 1 tablespoon is about 15 mL and 1 US cup is about 240 mL (NIST equivalencies). NIST also notes that customary measures such as teaspoons and cups mean different things in different countries (NIST measurement tips). When you copy a recipe from a British, Australian or Asian source, record metric amounts alongside cups so you are not guessing later.
For the best accuracy, write weights. NIST calls weighing ingredients on a kitchen scale a best practice compared with volume measuring. It also recommends striking off excess dry ingredients, reading a liquid measuring cup on a level surface at eye level, and not swapping dry and liquid measuring cups, which is a common source of error (NIST measurement tips). To convert a family recipe, NIST suggests measuring with the traditional tool and then weighing the result in grams.
Cut vague phrases like “a handful” or “a splash.” For seasoning you adjust at the end, record a starting point such as “1/2 teaspoon salt, adjust to taste.” For canned goods, Nebraska Extension recommends listing the weight or fluid measure rather than “one can.”
Write directions and notes you can follow mid-cook
The UMaine guide recommends numbered steps written as complete sentences in the active voice, broken into manageable tasks, with clear temperatures and times (UMaine Extension). Instead of “add sauce, reduce heat and simmer,” try:
- Heat the pan over medium heat and add the oil.
- Add the onion and cook until translucent.
- Stir in the sauce, lower the heat and simmer until it thickens.
Nebraska Extension also suggests “word pictures” such as foamy, syrupy or lemon-colored. Stoves and pans vary, so a visual cue travels between kitchens better than a time alone.
Use the notes section for the date, reactions, substitutions and their results, fixes for next time, storage notes and the original source. The UMaine guide asks writers to credit adapted recipes, for example “Adapted from” plus the title. For home canning, where acidity and processing time determine safety, the same guide relies on recipes approved by a food processing authority and USDA home canning guidance. Do not improvise quantities in those recipes, and record the source you followed.
Organize, index and share your recipe book
Once your collection grows, start with a handful of broad categories such as breakfast, soups, mains, sides, baking, and sauces and dressings. Use colored tabs in a notebook or matching tags in an app. A second layer by main ingredient or occasion, such as chicken, quick dinners or lunchbox, helps when you are cooking from what is already in the fridge.
An index can be a simple list of titles and page numbers at the front. In a binder, put a contents page at the start of each category and add a line whenever you file a new recipe. Star the dishes you make most often.
If you plan to share copies or post recipes online, think about other people’s words and photos. The US Copyright Office says a mere listing of ingredients is not protected by copyright, but a recipe accompanied by substantial literary expression, such as an explanation or directions, or a collection of recipes as in a cookbook, may be (U.S. Copyright Office). That is US guidance, so check local rules elsewhere. The clean approach is to cook the dish yourself, write the steps in your own words and credit your source.
A one-week plan to start your recipe book
- Day 1: choose your tool and build the seven-part template.
- Day 2: list a few dishes you cook most often.
- Days 3 to 5: each time you cook one, measure and record what you actually use, including seasonings you normally eyeball.
- Day 6: set up categories and an index.
- Day 7: reread your notes and fold the fixes into the recipes.
After that, add one page each time you cook something worth keeping.
Sources
- Step 3: Food Selection — Writing the Recipe (Nebraska Extension)
- Bulletin #4086, Content Creator's Food Safety Style Guide and Checklist for Acidic Home Canned Recipes (University of Maine Cooperative Extension)
- Metric Kitchen: Culinary Measurement Tips (NIST)
- Metric Kitchen: Cooking Measurement Equivalencies (NIST)
- What Does Copyright Protect? (U.S. Copyright Office FAQ)
Frequently asked questions
Should I make my recipe book in a notebook or an app?
Choose a notebook or printable template if you like writing by hand and want a page on the counter. Choose an app if searching by ingredient, tagging and photos matter more. Whichever you pick, use the same seven-part template so you can move recipes later, and confirm that an app can export your recipes.
What should a recipe template include?
A title, yield, prep and total time, equipment, ingredients in the order used with measurements, numbered directions, and a notes section for the date, changes, fixes and the original source.
Is it fine to write “1 cup” in my recipes?
Customary units differ between countries. NIST’s table puts 1 US cup at about 240 mL, 1 tablespoon at about 15 mL and 1 teaspoon at about 5 mL. Adding milliliters or grams next to cups removes the guesswork, and weighing with a kitchen scale is more accurate still.
Can I share recipes I found online in my recipe book?
The US Copyright Office says a mere list of ingredients is not protected, while explanations, directions and cookbook-style collections may be. Rules elsewhere can differ. If you share, rewrite the steps in your own words after cooking the dish, avoid copying other people’s photos and credit the source.
How do I organize a growing recipe collection?
Use a few broad categories, add a second layer by main ingredient or occasion, keep an index of titles and page numbers, and star the recipes you cook most often.
blog.theseeker.io/en/posts/make-your-own-recipe-book-notebook-app-printable-template
Chloe Morgan
Chloe covers easy recipes and how to prepare and store ingredients, written in quantities and steps that work in a home kitchen.
Read our editorial standards